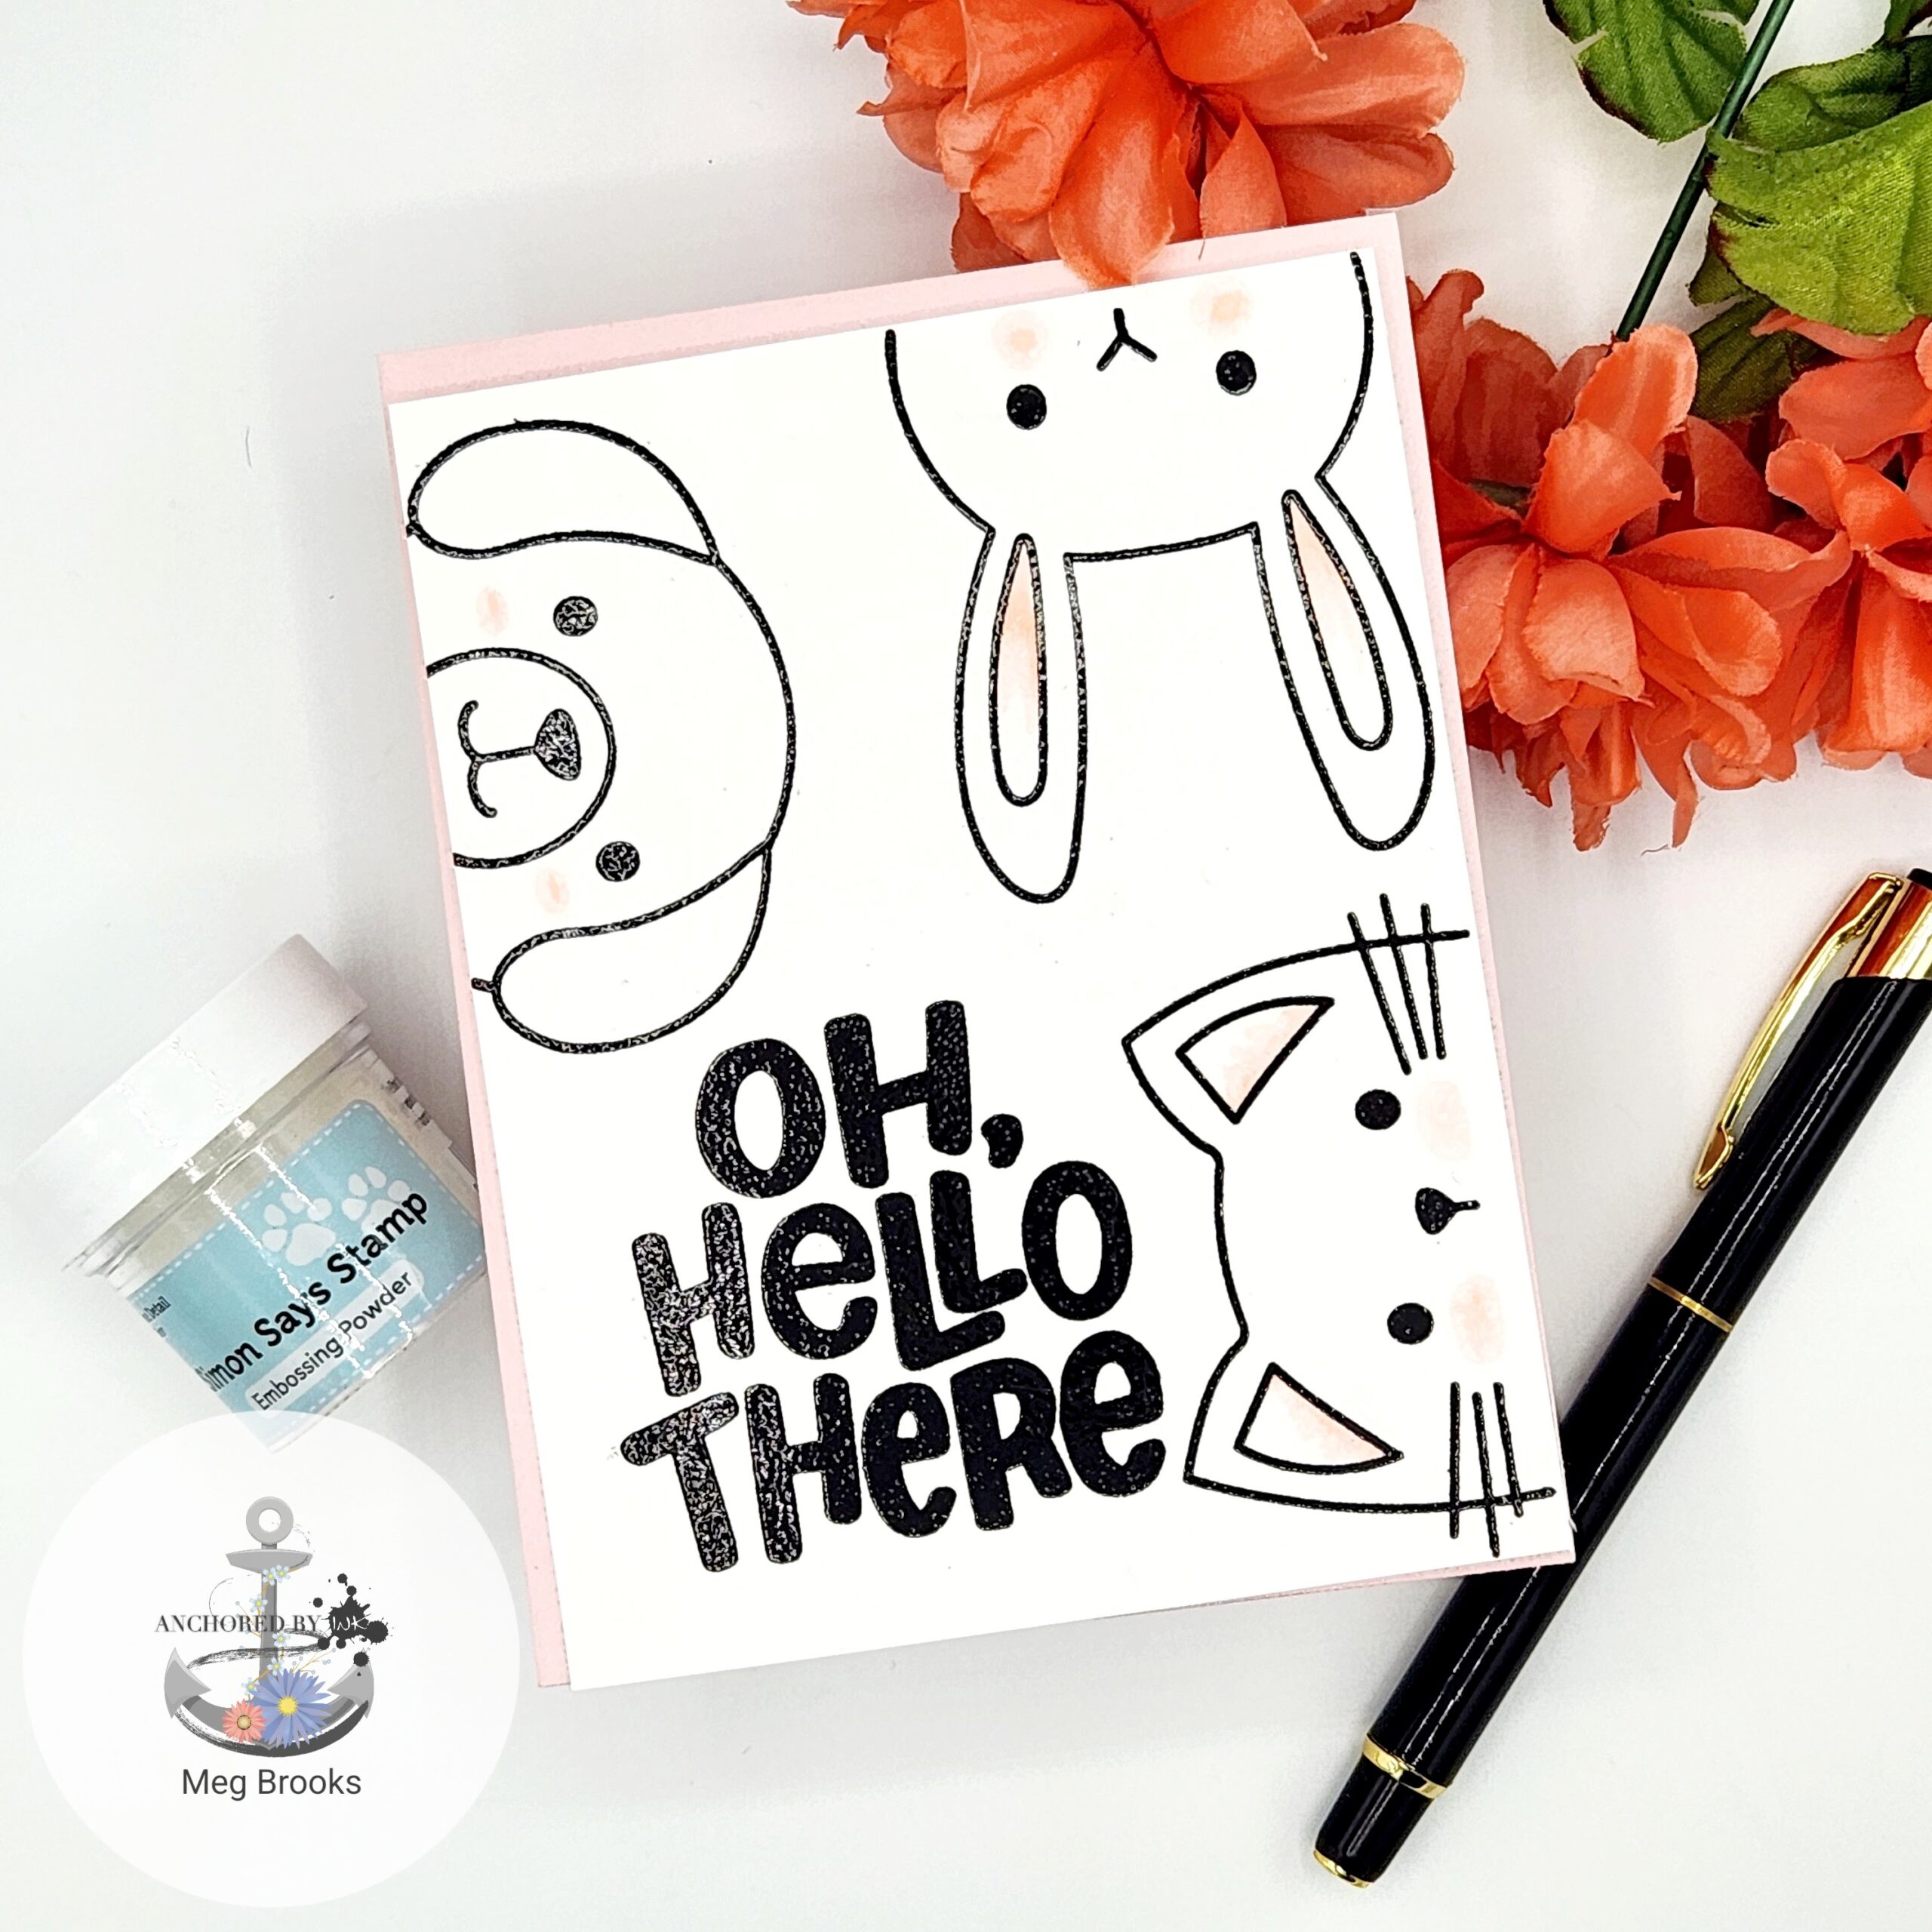
Hello crafty friends! Simon Says Stamp has an awesome new release for you called “Sweetheart”. Of course it is filled with some super sweet images for Valentine’s Day next month but also other year round images. If you haven’t seen the full release, you can view it here.

I have a few inspirational cards to show you today. I hope that you enjoy them!

Step by Step:
- Stamp all images from “Hello There Animals” with black pigment ink onto a white 4 1/4 by 5 1/2 panel.
- Add clear embossing powder and heat set.
- Using an alcohol marker, add small amounts of color to cheeks and/or ears.
- Adhere panel to a top folding card base.
This was a very simple card to make but I just adore it. It would be fun to mass produce and maybe add different colors for the cheeks/ears. Or you could even matte the embossed panel with the color you add with a marker.

Step by Step:
- Cut a panel of white cardstock to 4 1/4 by 5 1/2 inches.
- Using the “Hearts Banners Stencils”, blend pink and red inks through 2 of them. This will scatter the hearts.
- If you would like more texture, use an embossing folder (I used the Kaleidoscope folder).
- Cut the panel down to 4 by 5 1/4 inches. Adhere to a 4 1/4 by 5 inch black panel. This definitely makes the card pop.
- Die cut the “I think the world of you” from black cardstock 2 times. Adhere them together for dimension.
- Adhere the sentiment to the panel.
- Die cut the “Love Bulb” from black cardstock 2 times and adhere together.
- Die cut the bulb from holographic and pink cardstocks. Trim what you need (holographic for the filament and the pink for the heart).
- Adhere the bulb to the top half of the panel. Inlay the heart and add the holographic filament to the bulb with adhesive.
- Add the panel to a top folding card base.

Step by Step:
- Cut a white panel of cardstock to 4 by 5 1/4 inches.
- Add the “Love Ribbon” to a stamping platform like the MISTI.
- Add ink to sections making sure to buff out harsh lines with a cloth or blending brush.
- Stamp the “You Matter Background” onto the panel using a light ink like Fog.
- Stamp the Hope sentiment with black pigment ink and heat set using clear embossing powder.
- Adhere the finished panel to a light gray top folding card base.

Step by Step:
- Cut a panel of white cardstock to 4 1/4 by 5 1/2 and use the Concord & 9th Double Stripe Card Front die to add texture. Trim to 4 by 5 1/4 inches.
- Die cut the “Gentle Blooms” from Green Leaf and Cream cardstocks. Adhere the flowers and stems together.
- Using the “I think the world of you” die cut the words from Soft Navy and the outline from white cardstock. I cut the sentiment and outline 2 times to add a bit of dimension.
- Adhere the striped panel to a Soft Navy cardbase.
- Add the flowers and sentiment to the card front.
- For a finishing touch, add cream and white sequins.
Supply List:

Thank you so much for visiting me today and I hope you have a great day!


